Arduino Monitoring Temperature Serial Port
Draw graph and chart from arduino temperature sensors LM35 and DS18B20, track the history and analytics using ESP Studio step by step tutorial
Have you ever pondered the process of monitoring incoming values from a serial port, including temperature data, switch information, and various other data streams, within a cloud-based system or desktop application? In this tutorial, we will construct an Arduino application tasked with transmitting temperature data via the Serial port. Leveraging ESP Studio, we will establish connectivity, visualize the data, implement necessary conversions, and ultimately persist the information within a file.
A serial port on an Arduino is a physical interface that allows communication between the Arduino microcontroller and other devices, such as computers, sensors, or other Arduinos, using serial communication protocols. It's essentially a gateway for sending and receiving data in a sequential manner, typically through a USB connection or dedicated pins on the Arduino board. This communication method is widely used for tasks like sending sensor readings, receiving commands, or interfacing with external hardware, making it a fundamental feature for many Arduino projects.
Tutorial requirements
1Install ESP Studio Desktop
You need to have the ESP Studio installed on your computer
2Ardunio IDE
Install Ardunio IDE on your computer
3Any Arduino board
You need any kind of possible arduino board, or esp chip. Almost all of the chips today in market support Serial over USB, and you should be fine.
4USB Serial cable
You need a USB Serial cable to connect from your computer to the board. Usually older Arduino boards are using Micro USB.
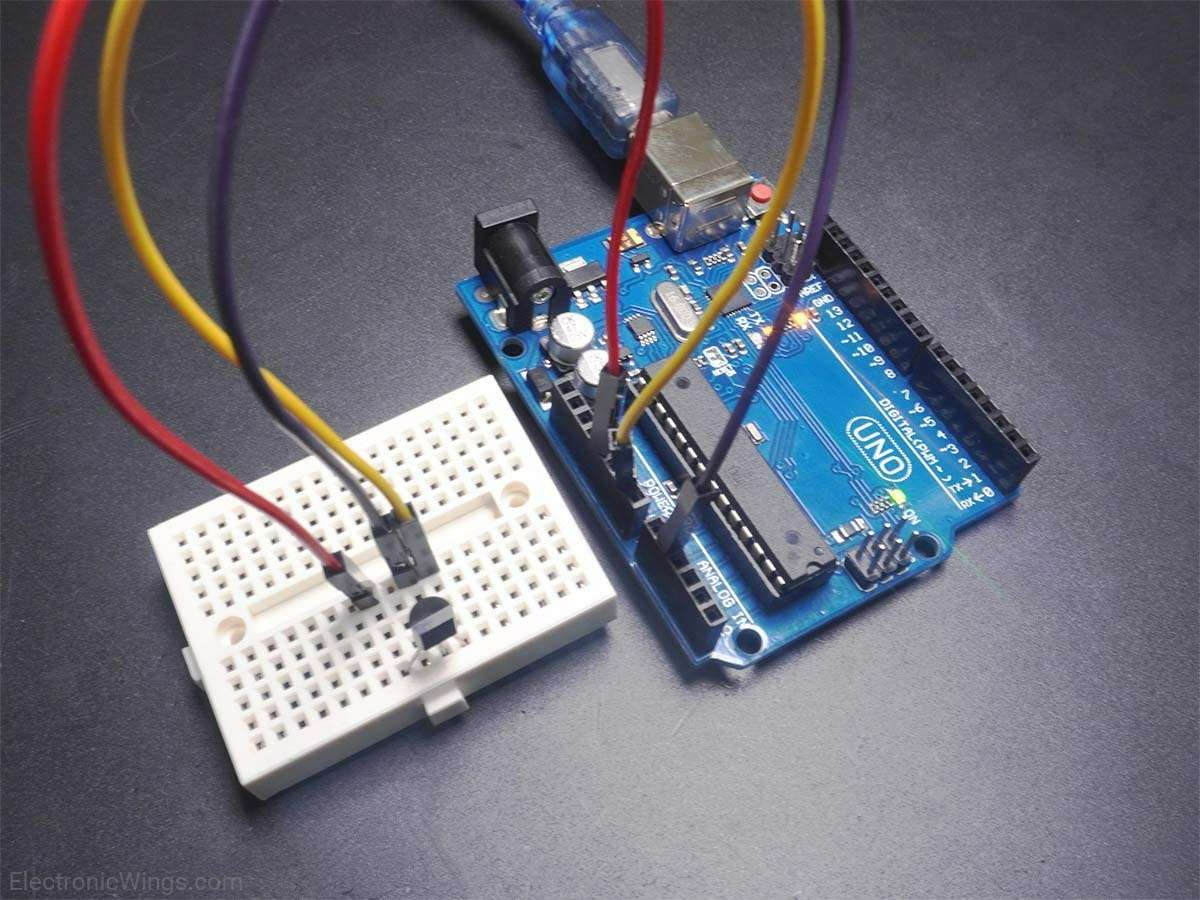
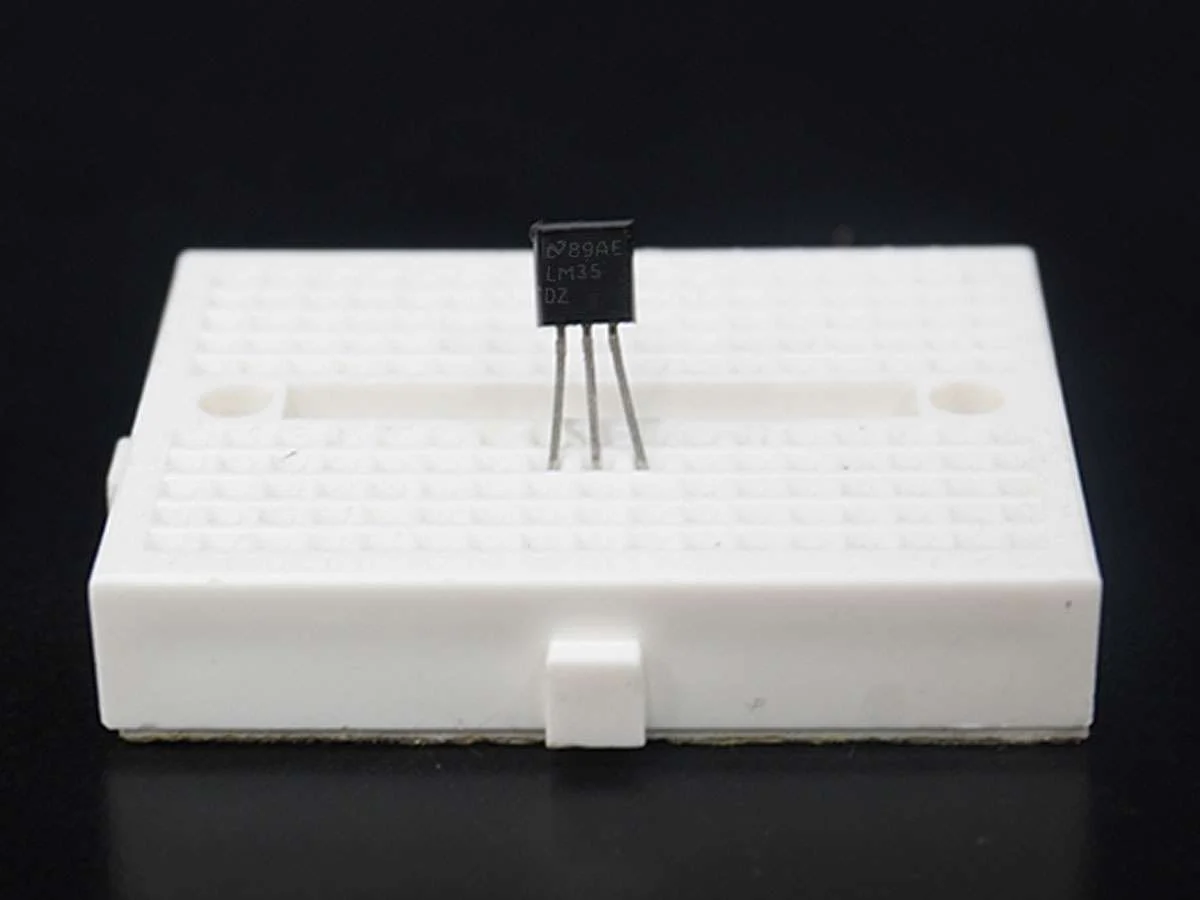
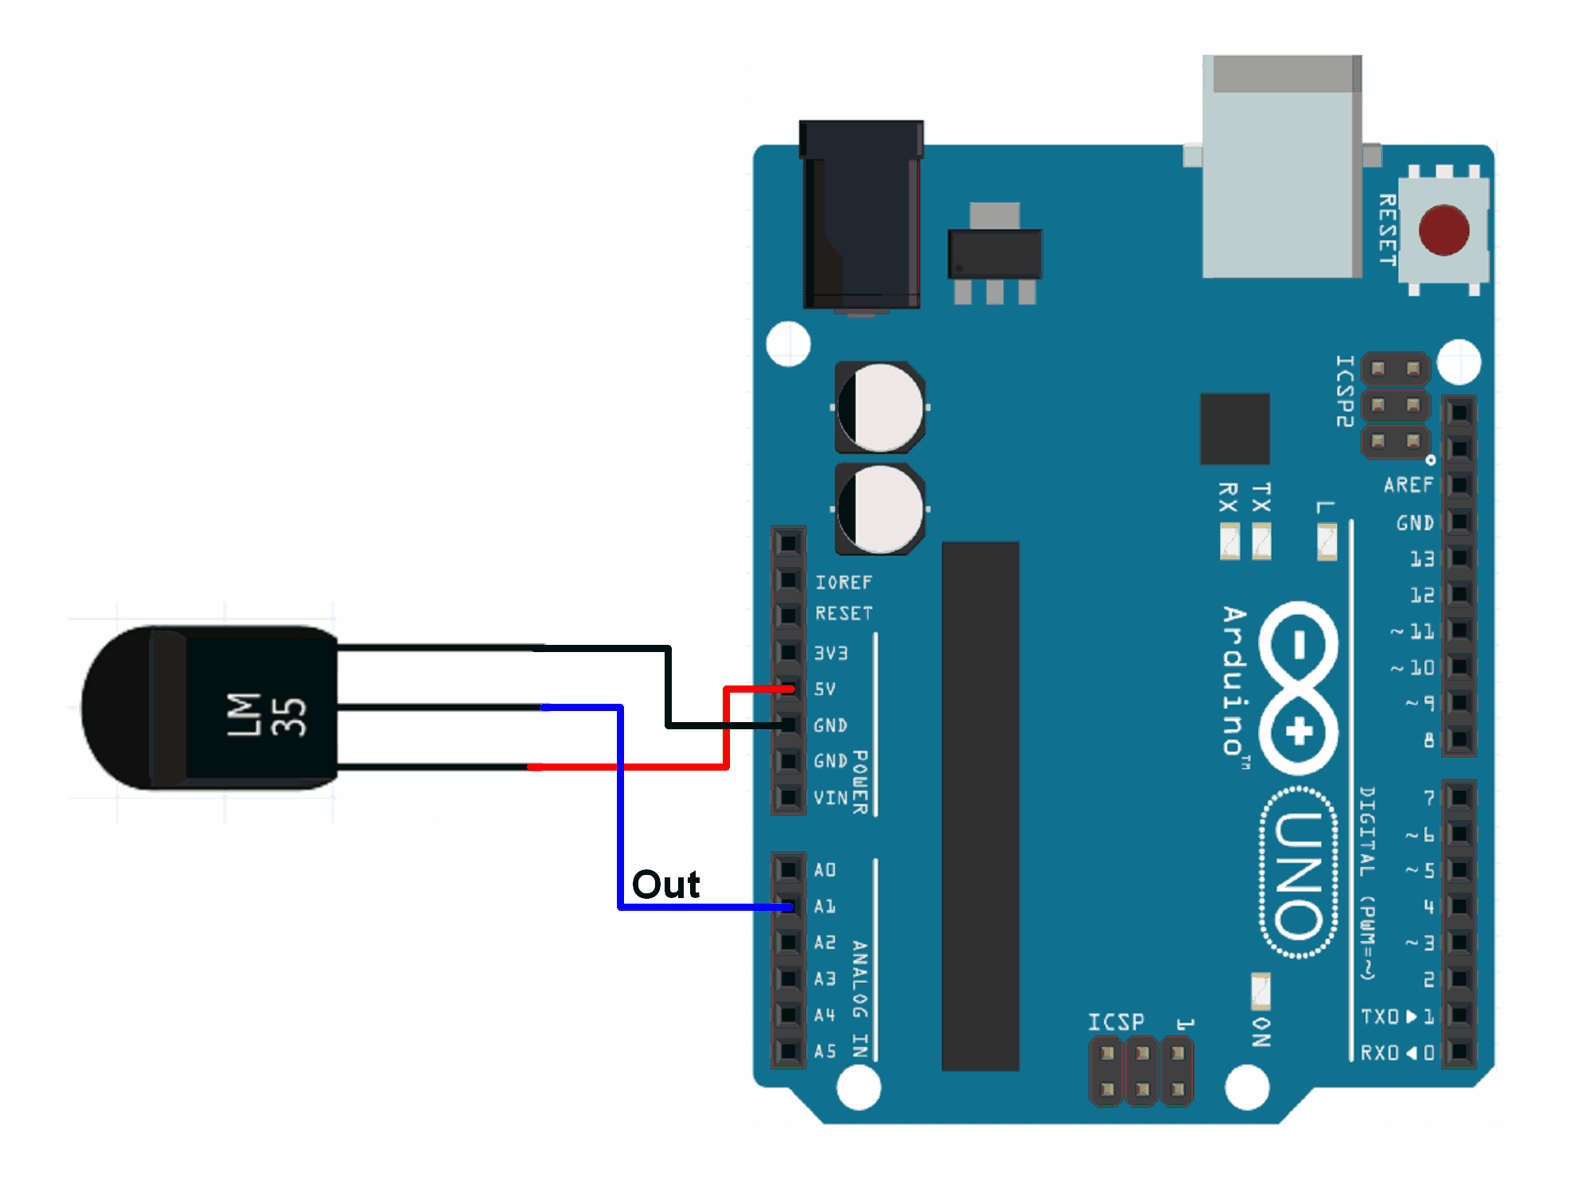
Connect the LM35 sensor
Our objection in this tutorial is to read a temperature data, convert the value to string, and write it to the temperature.
// Include the library for serial communication
#include <Arduino.h>

// Define the pin connected to the temperature sensor
const int temperaturePin = A0;

void setup() {
  // Initialize serial communication with a baud rate of 9600
  Serial.begin(9600);
}

void loop() {
  // Read the analog value from the temperature sensor
  int sensorValue = analogRead(temperaturePin);

  // Convert the analog value to temperature in Celsius
  float temperatureC = sensorValue * 0.48828125; // (5.0 / 1024) * 100

  // Print the temperature to the serial port
  Serial.print("Temperature: ");
  Serial.print(temperatureC);
  Serial.println(" °C");

  // Delay for one second
  delay(1000);
}
Configurating ESP Studio
In order to read serial port data in ESP Studio, there are few steps we need to set. ESP Studio connects to external sources or writes to them using "Data Nodes". After creating hour data node, we will go to control sheet, and create a controlling sheet so we can keep monitoring all the time.
Create data nodes
We want 2 different data node. First I would call "Serial Reader Node", and "Log writter Node". So let's create them.
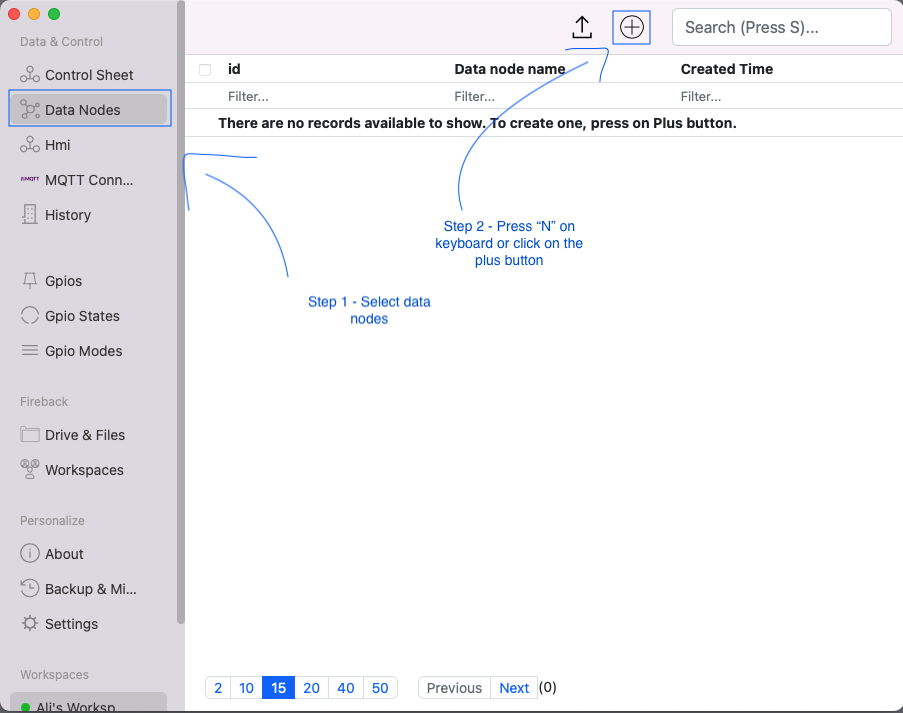
Open the ESP Studio, Navigate to "Data Nodes" either from Search bar, or menu on the side. Then you can press "N" on keyboard as shortcut, or find the "Plus" looking button on the top bar.
Now, we need to configurate the actual data node.
Data nodes could be many different types, and have multiple reader and writters. But for this tutorial we focus on reading the serial port.
- Step 3: Give the data node a name
- Step 4: Select the mode, and choose "Read". This would indicate that this node only could be read.
- Step 5: Data type should be "string". Basically because we get string from serial port, even if the data we send is number, we need to take it as string for now. Later on the control sheet or Hmi, we would cast it to numeric value for charts.
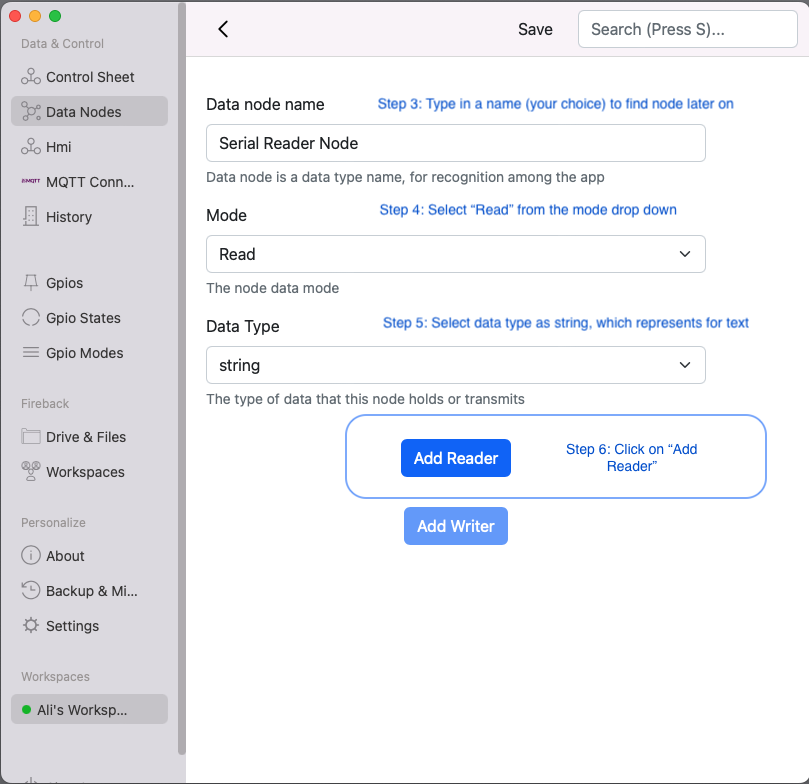
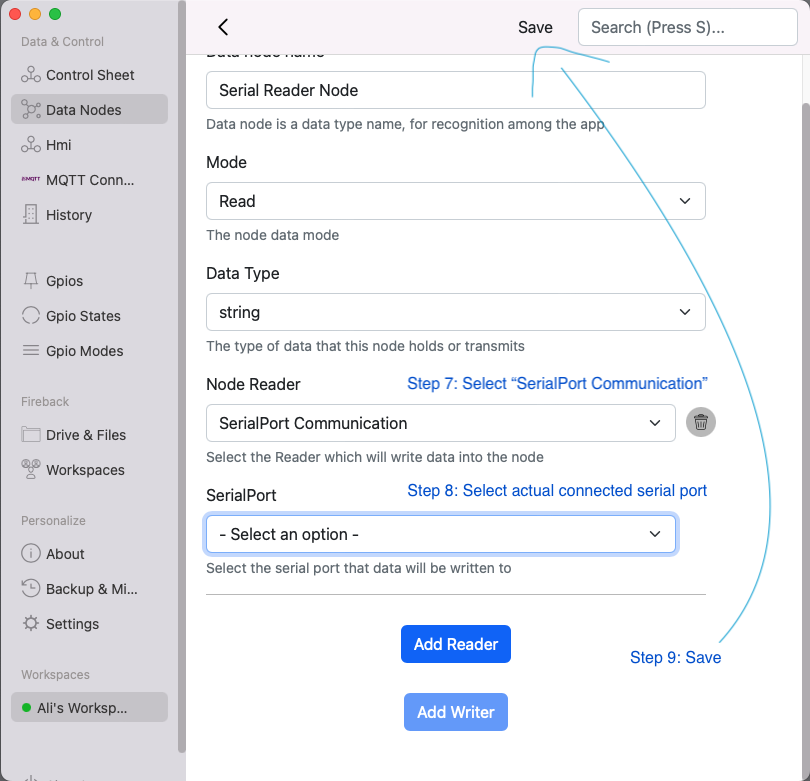
Now we need to select "SerialPort Communication" as the reader type. After that, the list of SerialPorts will appear, and if your board is already connected to the device, it would show up in the list. Select your port, and hit "Save" button.
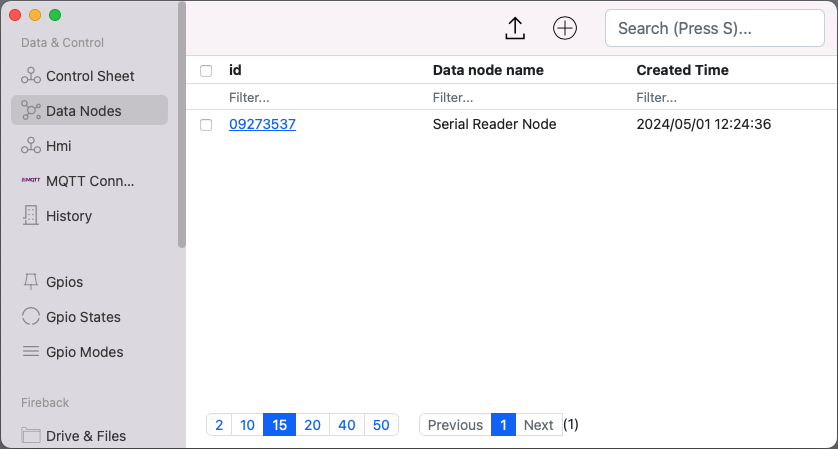
After saving you should be able to see the datanode in the datanodes list:

Ali Torabi
Software Engineer
